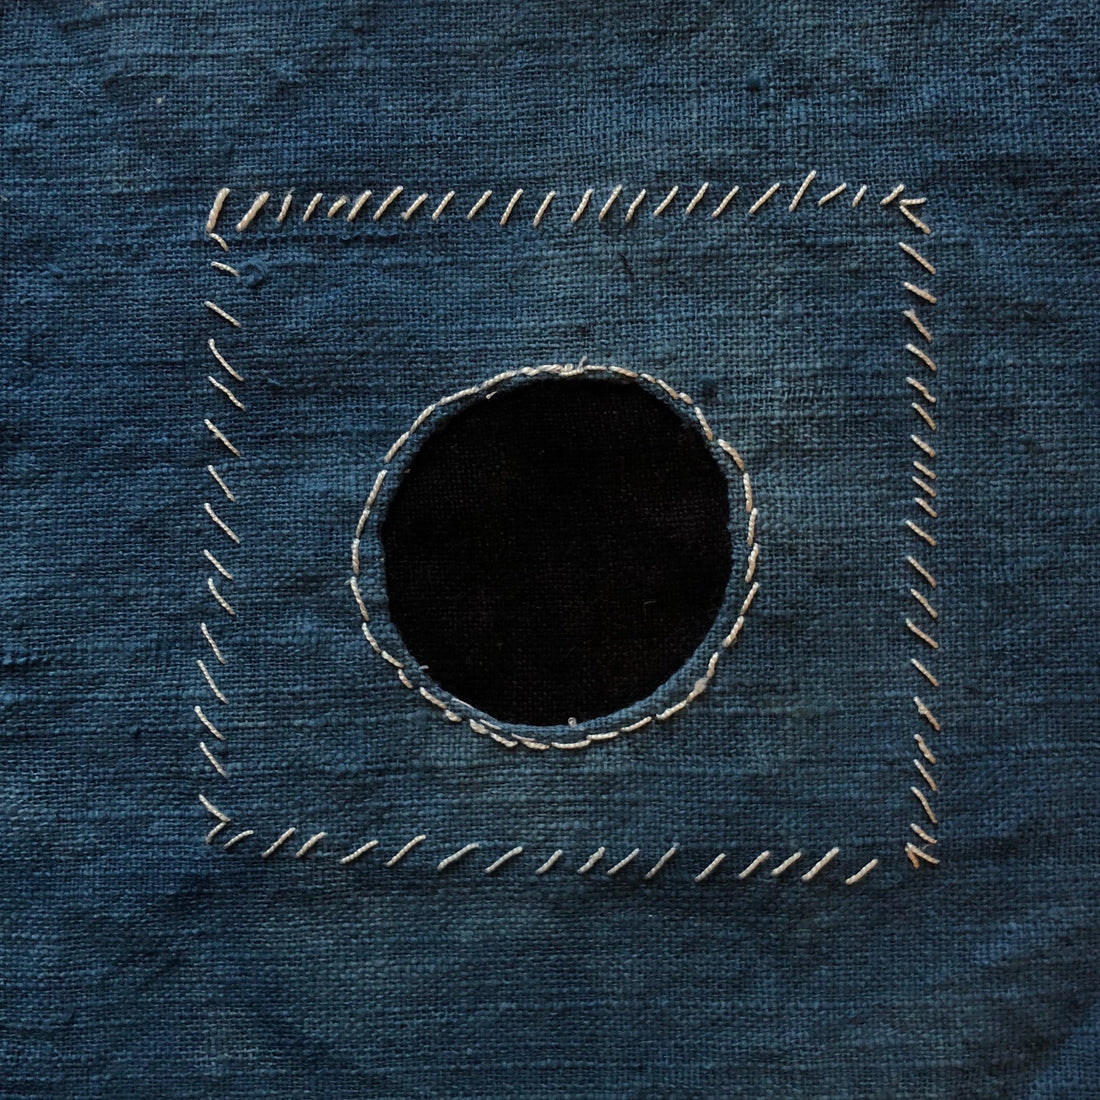
How to Mend a Hole

For reference: “right side” of fabric means the outside of the garment, “wrong side” of fabric means the inside of the garment.
Step 1
On the right side of the fabric mark out the hole, this includes the weakened parts too, with pins either side. Place another set of pins about a centimetre out from these.

Step 2
Cut out a template from some cardboard/paper, for the shape you want your visible mend to be. I have used a circle. It should be the same distance as between your two inner pins. Draw around this template and then draw around this about a centimetre away. Cut out the inner circle.


Step 3
Backstitch around the outer hole for strength and then cut up to this line all the way around. Turn your garment inside out and iron these flaps back to allow the fabric to sit flat.


Step 4
Cut out your patch in a rectangle that it at least 5cm longer and wider than the hole. On the wrong side of the garment, place the right side of the patch face down, with hole in the centre. Pin it into place.


Step 5
Hand stitch around the edge of the patch. A slanting hemming stitch works well.
On the right side of your garment hand stitch the edge of the oval to finish it.

Email Eliza with any questions: eliza@tamayandme.com
