How to Cover a Stain
Over time, life will most likely leave stains on your garments, especially when you’re wearing them all the time. Don’t let this make you love your garment less, instead take the time to care for it. In this blog I will give you a few suggestions to cover stains in a way that will make your garment personal and lead you to love it more.
One option would be to remove the stain entirely by cutting around it and patching it as you would a hole. To do this follow my step by step instructions in my How to Mend a Hole post.
Alternatively, a method I love which doesn’t include having to cut into your garment, is needle weaving. To do this you will need
Needle
Thread
Scissors
Pins

I would suggest contrasting colours and weights of embroidery to add depth to your weave. Personally, I think it looks great when you embrace the fact that you’re editing your garment, rather than trying to cover up something up subtly.
Step 1
Firstly, sew parallel lines of width and length which cover your stain.

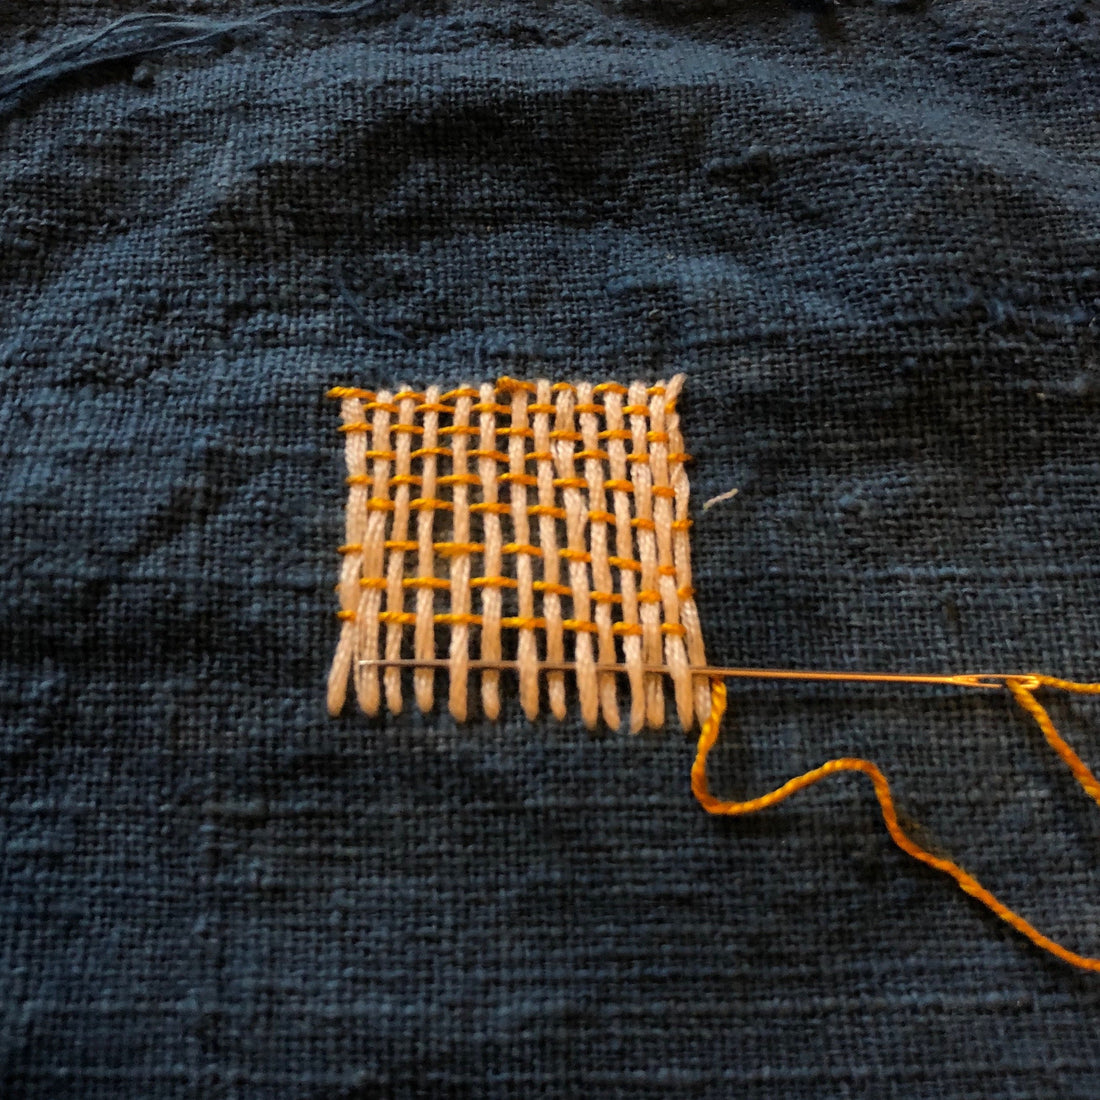
Step 2
Starting from one corner of this grid, with a different coloured thread if you’re using one, start weaving the needle under and over the parallel lines. Once you reach the opposite end, go back the other way. Keep doing this until you reach the top of the parallel lines you sewed. Be careful not to pull the thread tightly in order to keep the edges straight.


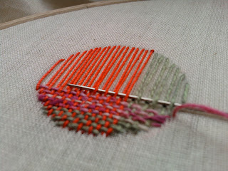
I found this method at: https://pumora.com/7-days-of-stitches-needle-weaving/ so take a look if you want to know more. They also tried other methods of needle weaving. Below are some examples of needle weaving done by others which I really like.

https://www.axisweb.org/p/suestone/event/4865-exploring-texture-and-pattern-in-hand-stitch/
http://hannahlamb.blogspot.com/search/label/darning
Email Eliza for any questions: eliza@tamayandme.com